
Canva is useful when you need clean visuals without learning advanced design software first. This Canva beginner tutorial explains how to create simple posts, presentations, flyers, thumbnails, resumes, and basic brand materials with a practical workflow.
It is written for students, content creators, small business owners, freelancers, teachers, and non-designers who need usable results quickly.
You will learn how to choose a project, edit without clutter, organize files, share safely, and export the right version for posting, printing, or client review without slowing your daily work or confusing collaborators.
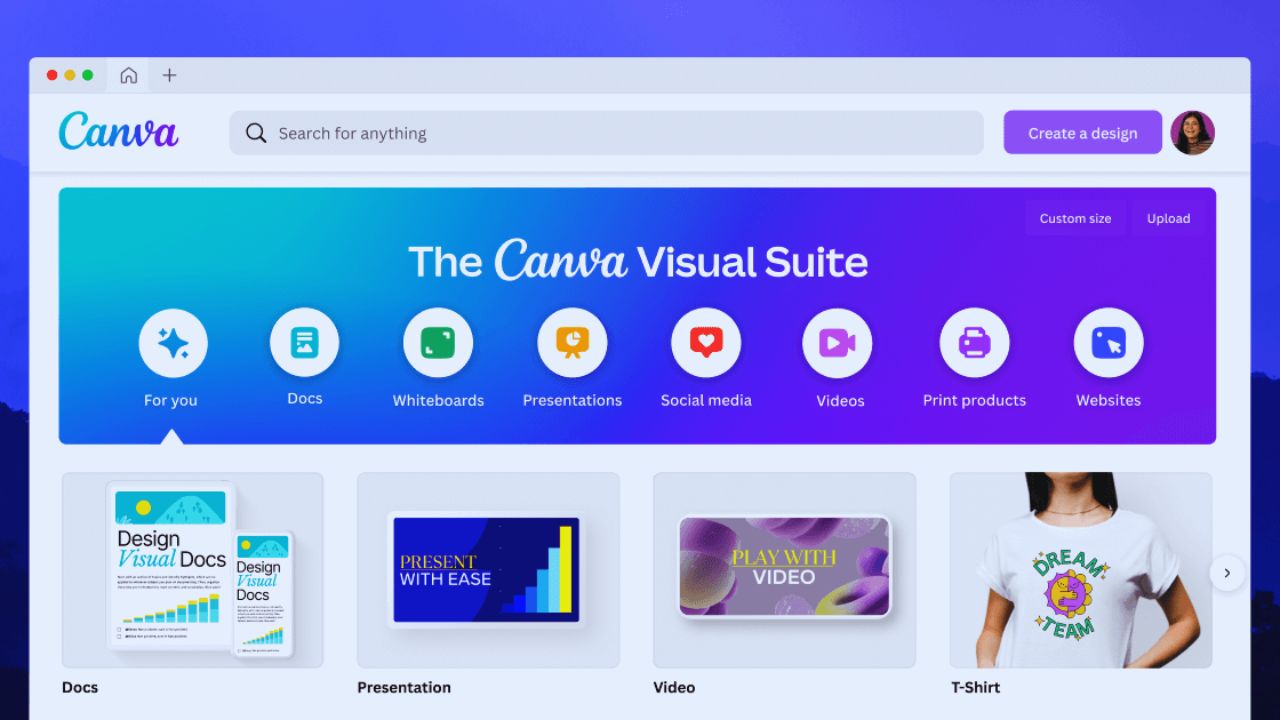
Choose Canva for Fast Visual Tasks
Canva works best for everyday design needs that require speed, clarity, and consistency. It helps users create social posts, slide decks, posters, simple videos, worksheets, menus, and marketing materials from one workspace.
This visual design approach is helpful when the goal is a polished result, not complex professional production.
Beginners should treat Canva as a layout and publishing tool rather than a replacement for every design program. That expectation keeps the workflow realistic from the start later on.
Know Who Will Benefit Most
Canva is a strong fit for people who make recurring visual content but do not need heavy technical controls. Students can build presentations and posters, while creators can prepare thumbnails, story graphics, and simple reels covers.
This beginner design setup also works for small businesses that need flyers, menus, or announcements without hiring a designer for every update. It may feel limited for advanced print production, complex illustration, or detailed photo retouching.
Start With the Right Project Type
The first choice inside Canva should match where the design will be used. An Instagram post, presentation, flyer, resume, and video do not need the same size or format.
A clear project format prevents awkward cropping, stretched layouts, and last-minute resizing. Search for the project type before opening a blank canvas.
If the design is for a client, school, or platform, confirm the required size and file format before editing so the first draft fits.
Templates Should Guide, Not Control
Templates are useful because they give structure before you make design decisions. Still, a template should not be copied blindly.
This template editing step means replacing placeholder text, checking spacing, removing extra graphics, and making sure the design fits your actual message.
Beginners often keep too many decorative elements because the template already looks attractive, even when those details distract from the message. A cleaner version usually communicates better.
Also Read: Software Features Explained in Simple Terms
Edit With Structure Before Style
Good Canva designs usually start with content order, not colors. Decide what the viewer should notice first, second, and last before changing fonts or effects. This layout structure keeps the design readable, especially on small screens.
Place the headline where it is easy to see, keep supporting text short, and leave enough empty space around important details. A crowded design may look busy, but it usually feels harder to trust.
Fonts, Colors, and Spacing Need Restraint
Beginners often use too many fonts, colors, icons, and effects in one file. That makes the design look less professional even when the template is strong. A simple brand style should use a small set of fonts and colors that can be repeated across designs.
If Brand Kit tools are available in your plan, save the basics for faster reuse. If not, keep a small reference file with your preferred colors, logos, and fonts.
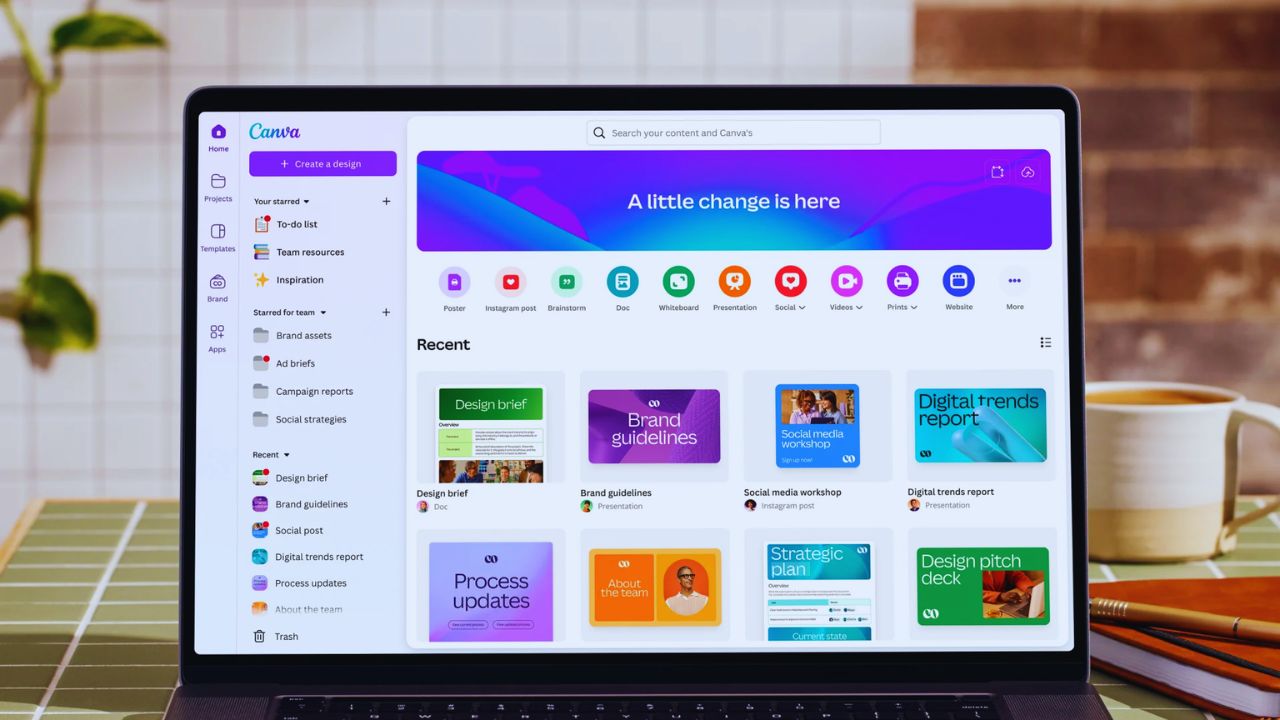
Keep Files Organized From the First Design
Canva can become messy when every draft sits in the same area with unclear names. Create folders for clients, school subjects, campaigns, months, or content types before the design pile grows.
This file organization habit keeps finished work easy to find later. Use names that show the purpose and date, such as “June Promo Flyer” or “Math Presentation Draft.” Avoid vague titles like “new design” or “copy.”
Duplicate Before Changing Old Work
Reusing a past design is one of Canva’s biggest time savers. The risk is accidentally editing the original file when you only wanted a new version. This design duplicate habit protects old posts, client drafts, and approved layouts.
Make a copy first, rename it clearly, then update text, images, and dates. Archiving older versions also keeps the workspace lighter.
Protect Account and Sharing Links
Design files can include private notes, client assets, school materials, or unpublished campaigns. Use a strong password, enable multi-factor authentication when available, and review active access if something feels unusual.
This account security routine matters because design tools often hold more sensitive information than people expect.
Avoid uploading IDs, confidential contracts, or private client files unless it is necessary. If you do upload sensitive material, limit who can view it.
Team Access Needs Boundaries
Sharing makes Canva useful for teams, but careless permissions create problems. Some people only need view access, while editors should be limited to trusted collaborators.
A careful sharing permission setup reduces accidental edits and unwanted copying. Before sending a link, check whether it allows viewing, commenting, or editing.
For team projects, keep drafts private until they are ready for review, especially when prices, campaign dates, or client comments are still changing.
Export Based on the Final Use
The download format should match the purpose of the design. PNG or JPG can work for images, PDF is often better for documents, and video formats suit animated or motion projects.
This export choice affects sharpness, file size, and how the design appears after sending. Open the downloaded file before posting or emailing it. Small text, cut edges, color shifts, or missing pages are easier to fix before the file reaches someone else or goes live.
Reuse Templates Carefully
A saved template can make repeated work faster, especially for social posts, class materials, proposals, and branded updates.
Reuse is helpful only when each new design still gets reviewed. This template reuse should include checking names, dates, prices, links, images, and platform sizes before publishing.
Old details are easy to miss when a design looks familiar. A final proofread prevents embarrassing carryover mistakes.
Build a Workflow You Can Maintain
Canva works best when it stays simple, organized, and easy to reuse. Start with the right format, edit with structure, manage folders early, protect sharing links, and export based on where the design will be used.
A steady Canva workflow helps beginners create clean visuals without turning the workspace into another cluttered folder. Review old drafts, rename messy files, and keep only the templates you truly use.
The best setup is one you can repeat confidently every week, even when deadlines, class projects, client changes, or content schedules start moving quickly.


