
You want a tool that helps you create clean visuals without a hard learning curve.
This guide explains how the software works step by step, from setup to finishing your first project.
Many beginners start with simple design tasks, such as social posts, thumbnails, and flyers. As you follow along, you’ll see why Canva is often the easiest place to begin.
What This Software Is and Who It’s For
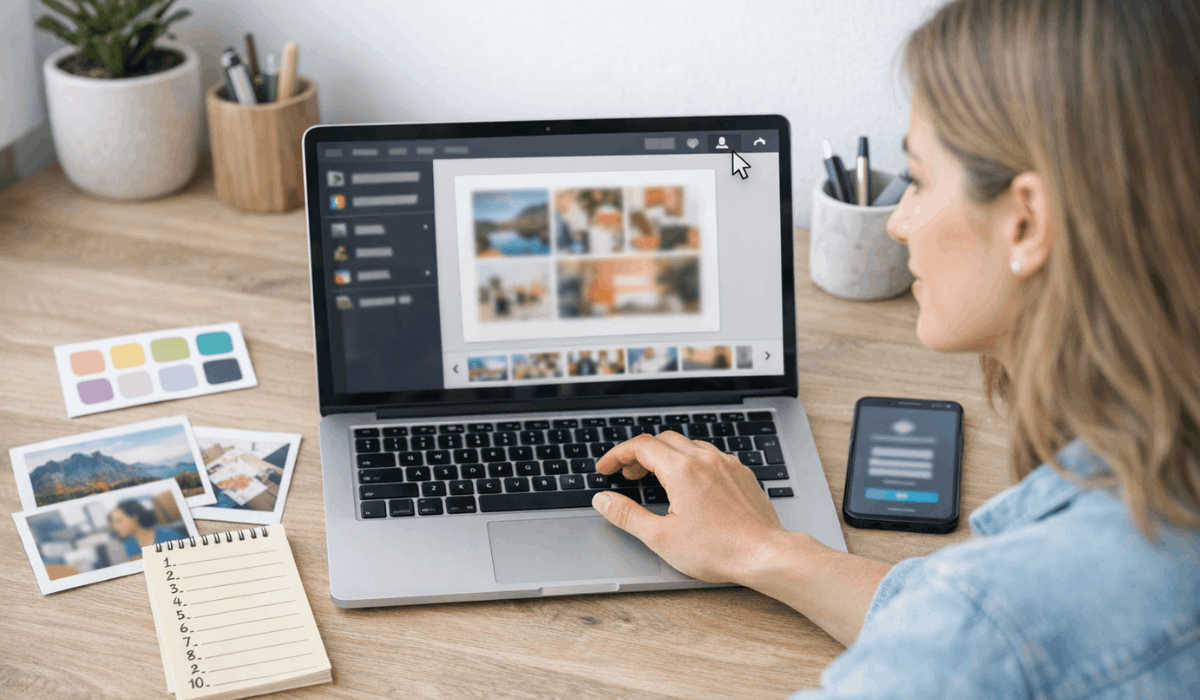
Canva is an online design tool that helps you create graphics, presentations, and other visuals using templates and drag-and-drop editing.
You can use it on a browser or mobile app to design and export content quickly.
If you want quick, clean designs without advanced skills, Canva is built for people like these.
- Students who need presentations, posters, and school visuals.
- Content creators who make thumbnails, reels covers, and social posts.
- Small business owners who need simple marketing materials fast.
- Freelancers who design quick client graphics and proposals.
- Teachers who build worksheets, slides, and classroom visuals.
- Social media managers who produce consistent branded content.
- Non-designers who want good-looking results without advanced tools.
What You Can Do With It
Here are the main things you can create and manage inside Canva without needing advanced design skills.
- Social media posts and stories
- YouTube thumbnails and channel art
- Presentations and slide decks
- Posters, flyers, and simple print layouts
- Logos, brand kits, and basic brand templates
- Resumes, cover letters, and portfolios
- Business cards, menus, and promo materials
- Short videos, reels covers, and basic animations
- Photo edits like cropping, filters, and background cleanup
- Team collaboration with shared folders and comments
Quick Overview of How It Works
Before you go step by step, it helps to understand Canva’s basic workflow so you know what each part of the process does.
- Sign up or log in, then set your basic preferences.
- Choose a template or a blank canvas based on what you’re making.
- Edit by dragging and dropping text, images, and design elements onto the page.
- Fine-tune the design with fonts, colors, alignment, and spacing tools.
- Canva autosaves, then you export, share, or post the final result.
Step-by-Step Tutorial
Follow these steps in order, and you’ll go from zero setup to a finished Canva design you can download or share.
- Step 1 — Create an account: Sign up with email, Google, or another option, then confirm your login if asked.
- Step 2 — Choose your goal: Select what you’re using Canva for (personal, school, or work) to get better template suggestions.
- Step 3 — Pick a template or size: Search for a template (like “Instagram Post” or “Presentation”) or choose a custom size.
- Step 4 — Edit text and layout: Click text boxes to change words, fonts, sizes, and alignment, then drag items to move them.
- Step 5 — Add photos and elements: Upload your own images or use built-in elements like icons, shapes, and stickers.
- Step 6 — Customize colors and brand style: Adjust colors and fonts to match your look, and save styles you want to reuse.
- Step 7 — Organize pages (if needed): Add, duplicate, reorder, or delete pages for multi-page designs like slides or carousels.
- Step 8 — Save and export: Download in the right format (PNG, JPG, PDF, or video) or share a link for others to view or edit.
- Step 9 — Share or collaborate: Invite others, set permissions, and use comments if you’re working with a team.
- Step 10 — Reuse your design: Duplicate the file, turn it into a template, or resize for other platforms if your plan allows it.
Best Settings to Turn On First
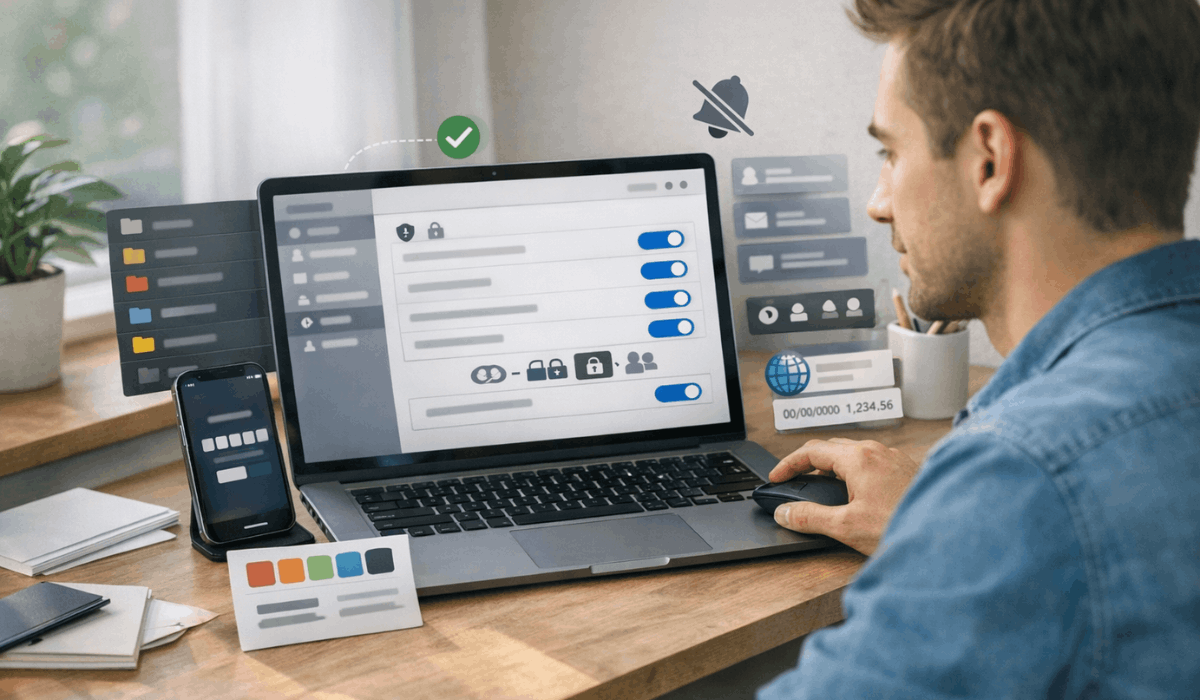
Turn these settings on early so Canva stays secure, organized, and easier to use every day.
- Two-step verification (2FA): Add an extra layer of login protection to make your account harder to hack.
- Auto-save confirmation habit: Check that your designs are marked as “saved” before you close a tab or switch devices.
- Brand Kit basics (if available): Set your main fonts and colors once to keep your designs consistent.
- Default sharing permissions: Choose safer defaults so new links don’t accidentally allow editing.
- Notification control: Keep only important alerts, and mute the rest to avoid distractions.
- Folder structure: Create folders for clients, schools, or projects to keep files organized.
- Language and region: Set the right language and format preferences for your workflow.
- Team roles (if using a team): Assign roles correctly so people can edit only what they should.
Privacy, Security, and Your Data
Use these checks to keep your Canva account safer and your files under control.
- Enable two-step verification (2FA) and use a strong, unique password to protect your Canva account.
- Review active sessions/devices and sign out of any device you don’t recognize or no longer use.
- Keep link sharing on view-only by default, then upgrade to edit access only when needed.
- Carefully set team roles and permissions so only trusted people can manage brand assets and settings.
- Avoid uploading sensitive files such as IDs, private documents, or confidential client materials unless necessary.
- Check whether a design is private, shared, or public before you send a link or collaborate.
- Audit and remove unused integrations/connected apps to reduce outside access to your data.
Integrations and Automations
Integrations and automations help you connect Canva to the tools you already use and speed up repeat tasks.
- Connect Canva to cloud storage so you can import and save files in one place without manual downloads.
- Link your account to a team workspace so shared folders, brand assets, and approvals stay organized.
- Use social scheduling connections (when available) to publish designs faster without switching apps.
- Use content planning tools, such as calendars or planners in Canva, to manage posts and deadlines.
- Reuse work with templates to duplicate layouts, swap text/images, and stay consistent.
- Build a simple workflow using bulk create (if available) to generate multiple designs from a single layout and a data list.
- Set up approval-style routines by sharing edit links to teammates and using comments to reduce back-and-forth.
Best Practices for Long-Term Use
These habits keep your Canva workspace clean, your designs consistent, and your workflow fast as your projects grow.
- Create a simple folder system (by client, month, or project) and stick to the same naming style.
- Save a few master templates for your most common designs so you don’t have to start from scratch every time.
- Keep a small brand style set (fonts, colors, logo files), so your visuals stay consistent.
- Duplicate and update existing designs instead of rebuilding, then archive old versions to avoid clutter.
- Review your shared links and permissions monthly to ensure old collaborators don’t retain access.
- Export and store important files in a backup location so you always have clean copies.
- Do a quick weekly cleanup: delete duplicates, rename messy files, and sort new designs into folders.
To Sum Up
Now you know how Canva works step by step, from setup to exporting a finished design you can reuse.
Keep your workspace organized, lock down your privacy settings, and save templates to keep your daily workflow fast.
Try Canva today by creating one simple design and exporting it, then build your next project from that template.


